One of my biggest interests is how to make local development experience with OpenShift as easy as possible. I’m constantly exploring what needs to be enhanced to our current experience as I develop applications for OpenShift very frequently. I work hard to understand developers requirements and eventually provide solutions in the tooling we provide. I use to incubate ideas in a project my team owns, oc-cluster-wrapper. I work very close with our engineering teams to solve these use cases in “oc cluster” or “minishift” depending on the nature of the problem, as even if they both can stand up an OpenShift all-in-one instance for local development, they both have different goals.
Minishift/CDK is the tool that has been created for the end user (a.k.a developer) of OpenShift, where we are trying to streamline and simplify many of the common tasks a developer will do on the platform. It’s an extensible tool, that has recently introduced the notion of “addons” to allow users and organizations to provide common bootstrapping to their clusters. (I will talk about this in another post).
In this post I want to focus on something that really annoys me, as a developer, and I will show the solution I have found for this problem. As always, if the community sees that this is convenient for the general user, the developer, we will make sure that minishift implements this solution out of the box.
Now, after reading this blog for a minute, you’ll be wondering what’s my problem. Let me describe it.
The problem
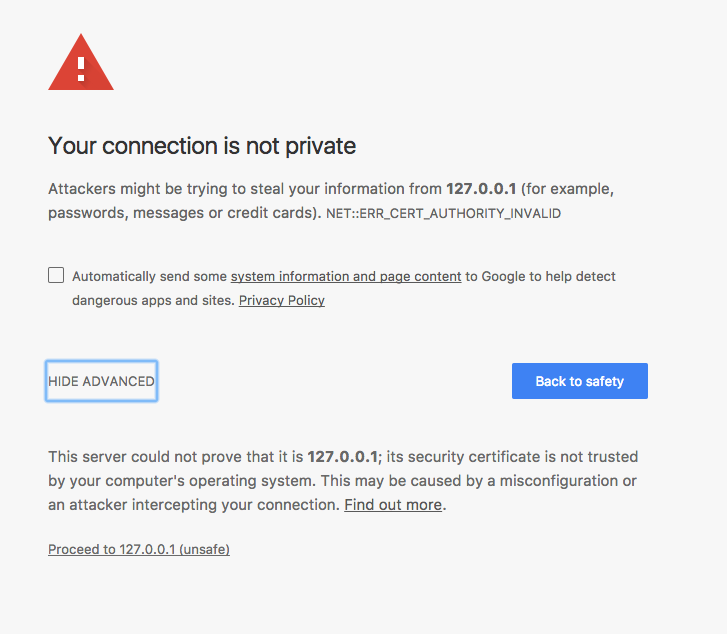
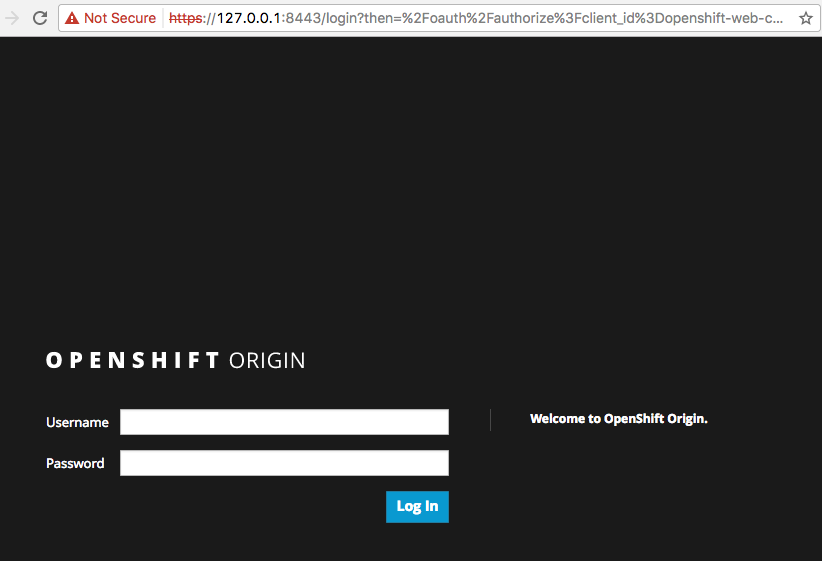
I create and destroy oc cluster‘s on a daily basis, mainly when I want to work on a branch, on a feature, on a demo, I create a new oc cluster, and when I have finished working on that task, and I know I will no longer work on it, I destroy it. Every time I do this, and I access the OpenShift web UI, I am prompted to accept a certificate. OpenShift’s web UI is exposed through https, and oc cluster uses self signed certificates for this communication.

Once the certificate has been accepted, I will not be prompted again. Although the communication is not trusted, I have voluntarily agreed to trust that certificate.
If I open a different browser, I will be prompted again to “proceed” understanding the risks that using a self signed certificate implies.

Now, the truth is that I’m not accepting any random certificate on the interwebs that who knows who’s managing it. I’m a developer that has created a cluster on my local machine for self use. That means, that at the end of the day what I’m really doing is trusting me, which is something that I usually do.
The second problem comes when I look into how “oc cluster” works, and I see that every time I stand up a new all-in-one instance via “oc cluster up” I get a new certificate. Even though I may have accepted already a certificate before for a previous instance, I will again be prompted to trust another certificate.
I’m a mostly Java developer and I’m not an expert on certificates, so after digging a little bit on the internet I learnt that a certificate is signed by what is called a Certificate Authority, which is an entity that is “globally trusted” that validates that who is using the certificate can also be trusted. This is know as a chain of trust.
The process of having a CA validating who you are and what you do so you can be trusted is a complex and costly process, that most of the time is not convenient for ephemeral certificates, those that will live for some time, and are somehow meant for development or testing purposes. That is the reason why “oc cluster” provides it’s own Certificate Authority (CA) to be able to create all the certificates it will require when creating a cluster. This Certificate Authority is also created with every new “oc cluster".
What can I do then?
First and easiest option is to create a CA myself and provide it to “oc cluster” so that every certificate that get’s created is signed by this Certificate Authority. I can then add this CA to the CAs I trust in my laptop, so I will never be prompted again to accept a certificate that is signed by it. This is fairly easy to do as OpenShift provides a convenience command that can be used to create a CA:
|
|
Then you can just provide this CA to the “oc cluster up” command line, and it will be used.
$ oc cluster up --certificate-authority=my-ca.crt
This is a really easy solution, but it falls short. This was the time when I got enlightened by one of my colleagues about the risks of this option. If I do globally trust this CA in my laptop and somehow this CA gets leaked from my laptop to someone else, he could just use it malicious purposes that I would blindly “trust”. This is not a good idea.
This colleague explained to me that what I should be doing is creating just a certificate that I should reuse between all my oc cluster‘s, and that this certificate is what I should globally trust on my laptop. This wouldn’t generate any security risk at all.
OK, let’s explore this option then.
One of the characteristics of “oc cluster” is that in the bootstrapping process, if there’s already configuration for the instance, it will reuse it (unless it’s not compatible). So, the only thing I need to do is, instead of creating a CA I need to create the certificates that the Web UI will use whenever I access it.
It happens that there’s multiple certificates used by an OpenShift instance, and that the CA that will sign these certificates will be different from instance to instance unless reused. So eventually, I need to create the CA and all the certificates, and provide these to every instance I create.
For this purpose, there is again an “oc” command:
$ oc adm ca create-master-certs \
                 --cert-dir=./certs \
                 --master=https://127.0.0.1:8443 \
                 --public-master=https://127.0.0.1:8443  \
                 --hostnames=kubernetes,kubernetes.default,kubernetes.default.svc,kubernetes.default.svc.cluster,kubernetes.default.svc.cluster.local,localhost,openshift,openshift.default,openshift.default.svc,openshift.default.svc.cluster,openshift.default.svc.cluster.local,127.0.0.1,172.17.0.1,172.30.0.1,192.168.65.2
As you can see, this command needs quite some different information. I will indicate the directory where to leave all the certificates, then the API server’s internal and external URLs and a list of hostnames or IPs that the server certificates should be valid for. This last part is the only challenging one, as it requires me to reuse the same IPs and names to be used for the cluster as part of the –public-hostname argument at bootstrapping time.
Now, the only thing I need to do is, everytime I bootstrap a cluster I need to provide to it all these certificates. In order to do that, I place all these certificates on a well known location on my laptop and then we need to instruct oc cluster‘s bootstrapping process to preserve the configuration and to use this “well known” location for the master’s config files.
The following options will be required whenever I start an oc cluster:
oc cluster ... --host-config-dir=DIR/config --use-existing-config
Every cluster I bootstrap from this point will use the same certificates, so the only part left is to instruct my local development system (a.k.a my laptop) to trust this certificate for https communication.
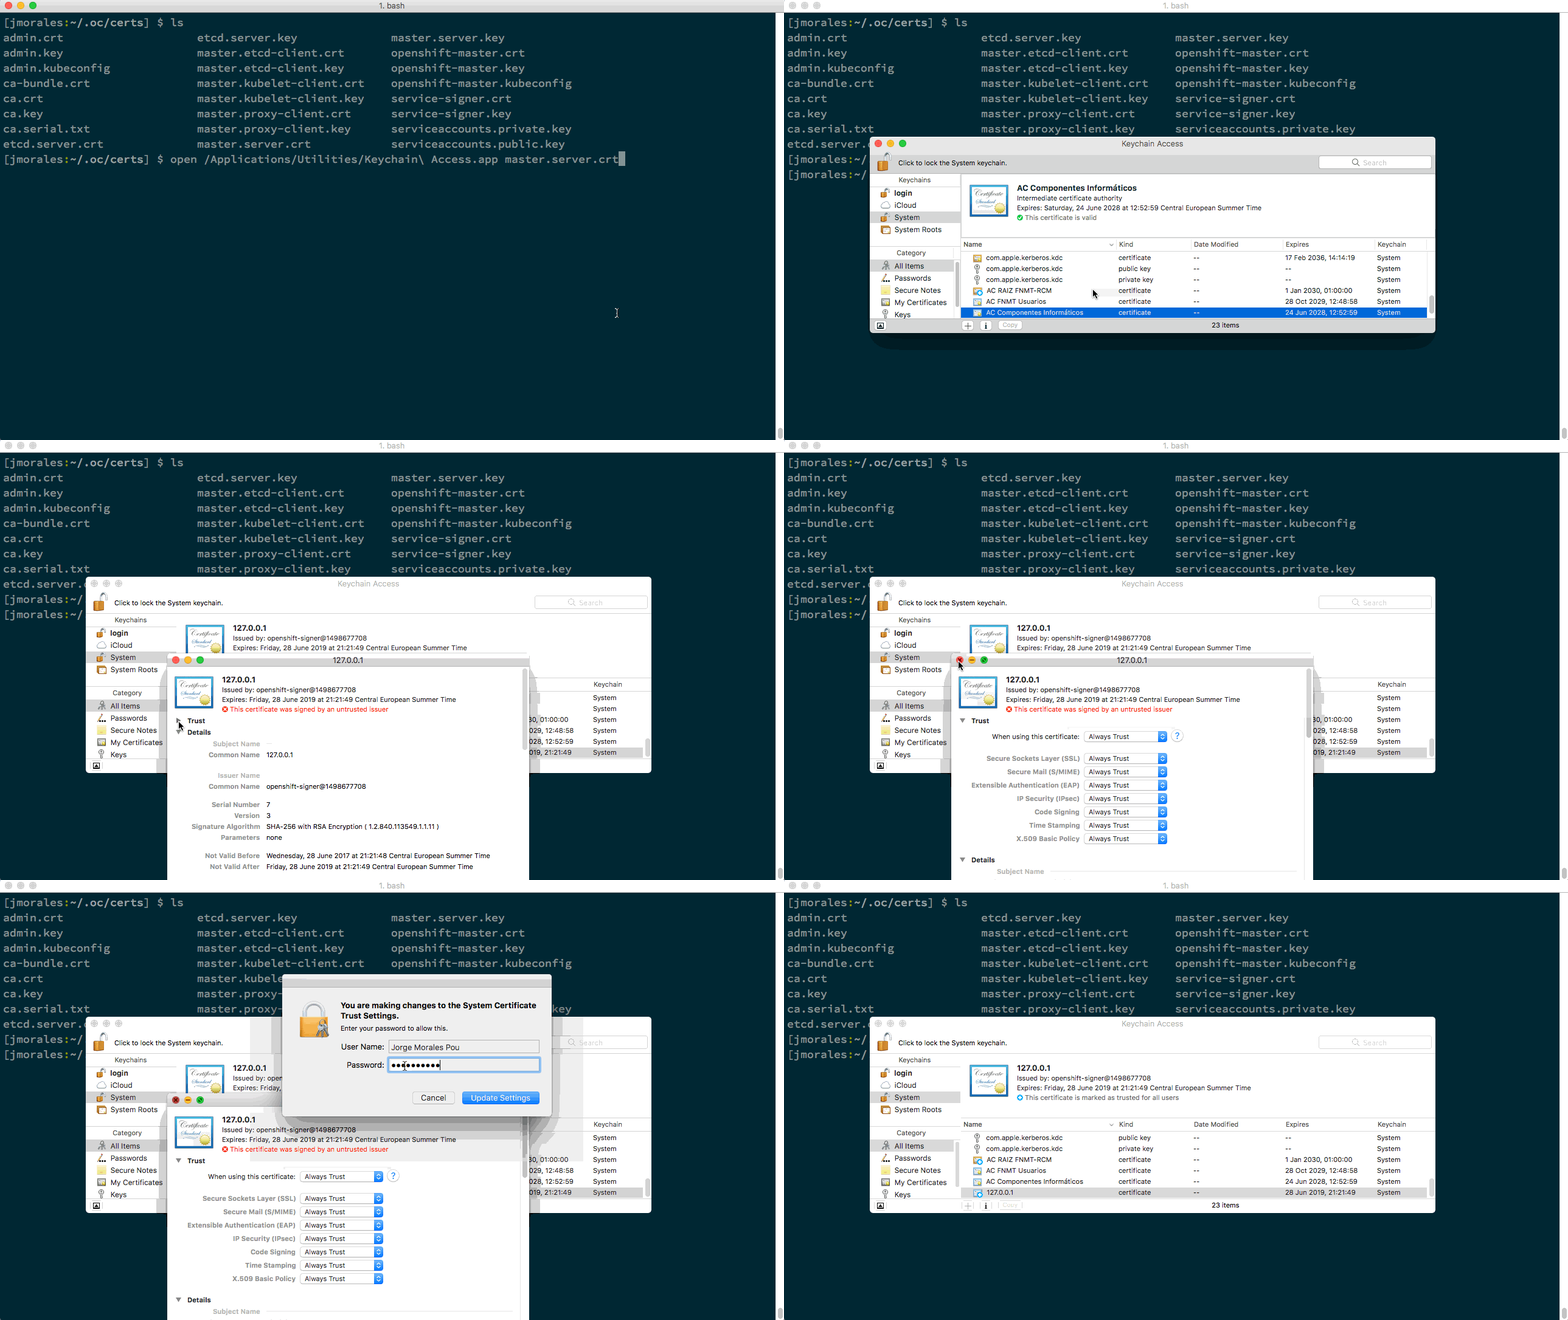
As I use mac, I will register my certificate using KeyChain. You can directly double-click on the certificate you want to add. In this case will be master.server.crt, and then trust the certificate. You can see the process in the following animated image. (There’s a similar process for every Operating System).

From this point, you will never be asked about this certificate by your browser, and you can create as many clusters as you want, as long as you share this certificate to all of them.
Making it simple
As you have probably seen, making this tip work with “oc cluster” is not trivial. For that, my team has been working on a script that simplifies working with “oc cluster” locally really simple. The script is called “oc-cluster” and works in the same way as the base command “oc cluster” but in a simpler way.
All these boilerplate that I have presented here is already built into that script, and you can just create a cluster by:
oc-cluster up
The only step left to you is to trust the certificate. If you do it, the burden of being asked for every cluster you create will be removed.
All the convenience this script provides (which is not the topic of this blog), is used as incubation for developer usability requirements that will get introduced into minishift, meaning that eventually minishift will support similar functions.
Wrap up
Here I have presented a way of making your local development experience easier by avoiding you the naggy behaviour of having to accept the self signed certificate every time you create a cluster with oc cluster.
There are a lot of small improvements one can make to improve their day to day experience, and that is what we are exploring and contributing into minishift. Minishift is the most streamlined way of working locally with openshift clusters for developers and what I recommend all of you to use, although some of the ideas we experiment in “oc-cluster” are not yet implemented, but they will soon be.
But remember, minishift is not a “production ready cluster” or a tool for “operations”. It is just meant to be used as the cluster where developers will test their applications early in the process. This is very important to remember. The experience in minishift is and will further be streamlined for development.